Have you ever wondered how SOLIDWORKS knows which part belongs to Toolbox and which one does not?
Or did you ever want to take a Toolbox part and modify it to create a custom part?When you save a SOLIDWORKS Toolbox part as a copy, it will still have a Toolbox flag icon? Indicating it’s still going to be treated as a Toolbox file in file references. You can remove this flag very easily to have the part be treated as a normal SOLIDWORKS part by running a utility that is installed with SOLIDWORKS.
Important: only set this on Toolbox parts that you have created copies of, and not on the out of the box Toolbox parts, as this can severely affect the way Toolbox files are managed in the software.
Browse into the SOLIDWORKS installation folder which is usually located at:C:\Program Files\SOLIDWORKS Corp\SOLIDWORKS
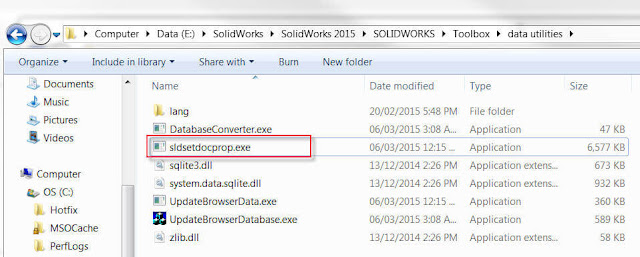
Then, inside the Toolbox\Data Utilities folder you’ll see a program called “sldsetdocprop.exe“.
 |
Toolbox Data Utilities Location |
Add the files,
Set the “Property State” to “No“,
And click “Update Status”.
 |
Set Document Property |
Article by Saeed Mojarad


0 Comments:
Отправить комментарий